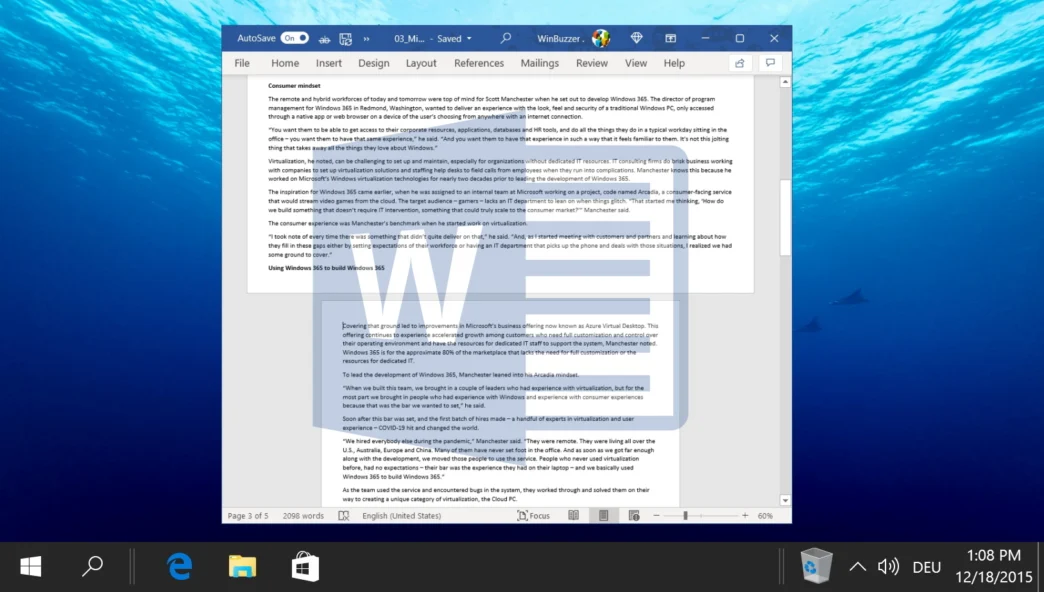
When creating professional or educational documents in Microsoft Word, formatting plays a crucial role in readability and visual appeal. While portrait orientation is the default, there are times when landscape orientation is more suitable—especially for pages with wide charts, tables, or illustrations. In this article, we’ll explain how to make one page landscape in Word, explore the use of section breaks, and provide tips for creating polished documents.
Why Use Landscape Orientation?
Landscape orientation is ideal for:
- Displaying wide tables, charts, or graphs.
- Enhancing the visual impact of illustrations or diagrams.
- Improving readability for content that doesn’t fit well in portrait mode.
By learning how to switch a single page to landscape, you can maintain a professional document layout while accommodating specific content needs.
What is a Section Break?
A section break is a formatting tool in Word that allows you to divide your document into sections, each with its own layout settings. This is essential if you want to change the orientation of just one page without affecting the rest of the document.
How to Insert a Section Break
- Place your cursor where you want the section break to begin.
- Go to the Layout tab.
- Click on Breaks.
- Choose one of the following options:
- Next Page: Starts a new section on a new page.
- Continuous: Starts a new section on the same page.
- Even Page: Starts the new section on the next even-numbered page.
- Odd Page: Starts the new section on the next odd-numbered page.
How to Make One Page Landscape in Word
There are several methods to change a single page to landscape orientation. Below, we’ll cover the most common techniques.
Method 1: Using ‘Page Setup’ for Tables, Charts, or Images
This method is ideal for pages with specific content like tables or charts.
- Select the content on the page you want to change (e.g., a table, chart, or image).
- Go to the Layout tab.
- Click the small arrow in the bottom-right corner of the Page Setup group to open the Page Setup dialog box.
- Under Orientation, select Landscape.
- In the Apply to dropdown, choose Selected Text.
- Click OK.
The selected page will now be in landscape orientation, while the rest of the document remains in portrait mode.
Method 2: Using Section Breaks
This method is useful for more complex documents, such as those with text-wrapped images.
- Place your cursor at the beginning of the page you want to change to landscape.
- Go to the Layout tab and click Breaks.
- Select Next Page under Section Breaks.
- Move your cursor to the end of the page you want to change.
- Insert another Next Page section break.
- Go to the Layout tab, click Orientation, and select Landscape.
- To revert to portrait mode, place your cursor at the beginning of the next page, insert a Next Page section break, and change the orientation back to Portrait.
Method 3: Changing Orientation for Specific Text
If you only want specific text to appear in landscape mode:
- Highlight the text you want to change.
- Go to the Layout tab and click Margins > Custom Margins.
- In the Page Setup dialog box, select Landscape under Orientation.
- In the Apply to dropdown, choose Selected Text.
- Click OK.
Method 4: Setting Landscape as Default Orientation
If you frequently use landscape orientation, you can set it as the default:
- Open Word and go to the Layout tab.
- Click the small arrow in the bottom-right corner of the Page Setup group.
- Select Landscape under Orientation.
- Click Set as Default and confirm by clicking Yes.
Tips for Using Word Effectively
Here are some additional tips to enhance your document creation process:
1. Explore Document Enhancement Options
- Use page borders, WordArt, and pictures to make your document visually appealing.
- Experiment with headers, footers, and page numbers for a professional touch.
2. Keep It Simple
- Avoid overloading your document with too many effects. Use formatting tools sparingly to maintain readability.
3. Follow Standard Formatting Guidelines
- Use 1-inch margins and 12-point fonts for professional documents.
- Stick to consistent heading styles and line spacing.
4. Use Track Changes
- Enable Track Changes under the Review tab to monitor edits and collaborate effectively.
5. Learn Keyboard Shortcuts
- Save time with shortcuts like Ctrl + S (save), Ctrl + Z (undo), and Ctrl + P (print).
6. Add Comments
- Use the New Comment feature to leave notes for yourself or collaborators.
Why Visual Appeal Matters
Creating visually appealing documents is essential for:
- Grabbing attention: Well-formatted content stands out.
- Improving readability: Clear layouts make information easier to digest.
- Enhancing professionalism: Polished documents reflect positively on you and your work.
Conclusion
Knowing how to make one page landscape in Word is a valuable skill for creating professional and visually appealing documents. Whether you’re working with charts, tables, or illustrations, the methods outlined above will help you achieve the desired layout without disrupting the rest of your document.
For more tips on document formatting, explore our guides on Word shortcuts, Track Changes, and wrapping text. Start applying these techniques today to create standout documents for work or education!
Note: The information in this article is based on Microsoft Word’s features as of the time of writing. Features and steps may vary with updates or different versions of the software.


